
Last Updated on July 9, 2023
This post contains affiliate links.
When it comes to grilling, the two most obvious choices are propane or charcoal. Propane is faster and usually more convenient, while charcoal is often viewed as superior in terms of flavor. Some people have their preferred method, while others I know have one of each kind of grill, using one or the other depending on their circumstances.
Aldi has been selling both propane and charcoal grills for years, and in all shapes and sizes. I’ve done my share of grilling over the years, but up to this point I’ve never taken the plunge on any of the Aldi grills or smokers. I finally decided to try out Aldi’s take on the most iconic of grills: the kettle-style charcoal grill.

The Range Master Kettle Charcoal Grill (Product Code: 804862) is an Aldi Find, which means it’s only in stores for a short time. (No, Aldi won’t ship it to you.) At the time of this post, the kettle grill is $59.99. That’s about $20 more than it was a couple of years ago, but it’s still less than most kettle grills out there.
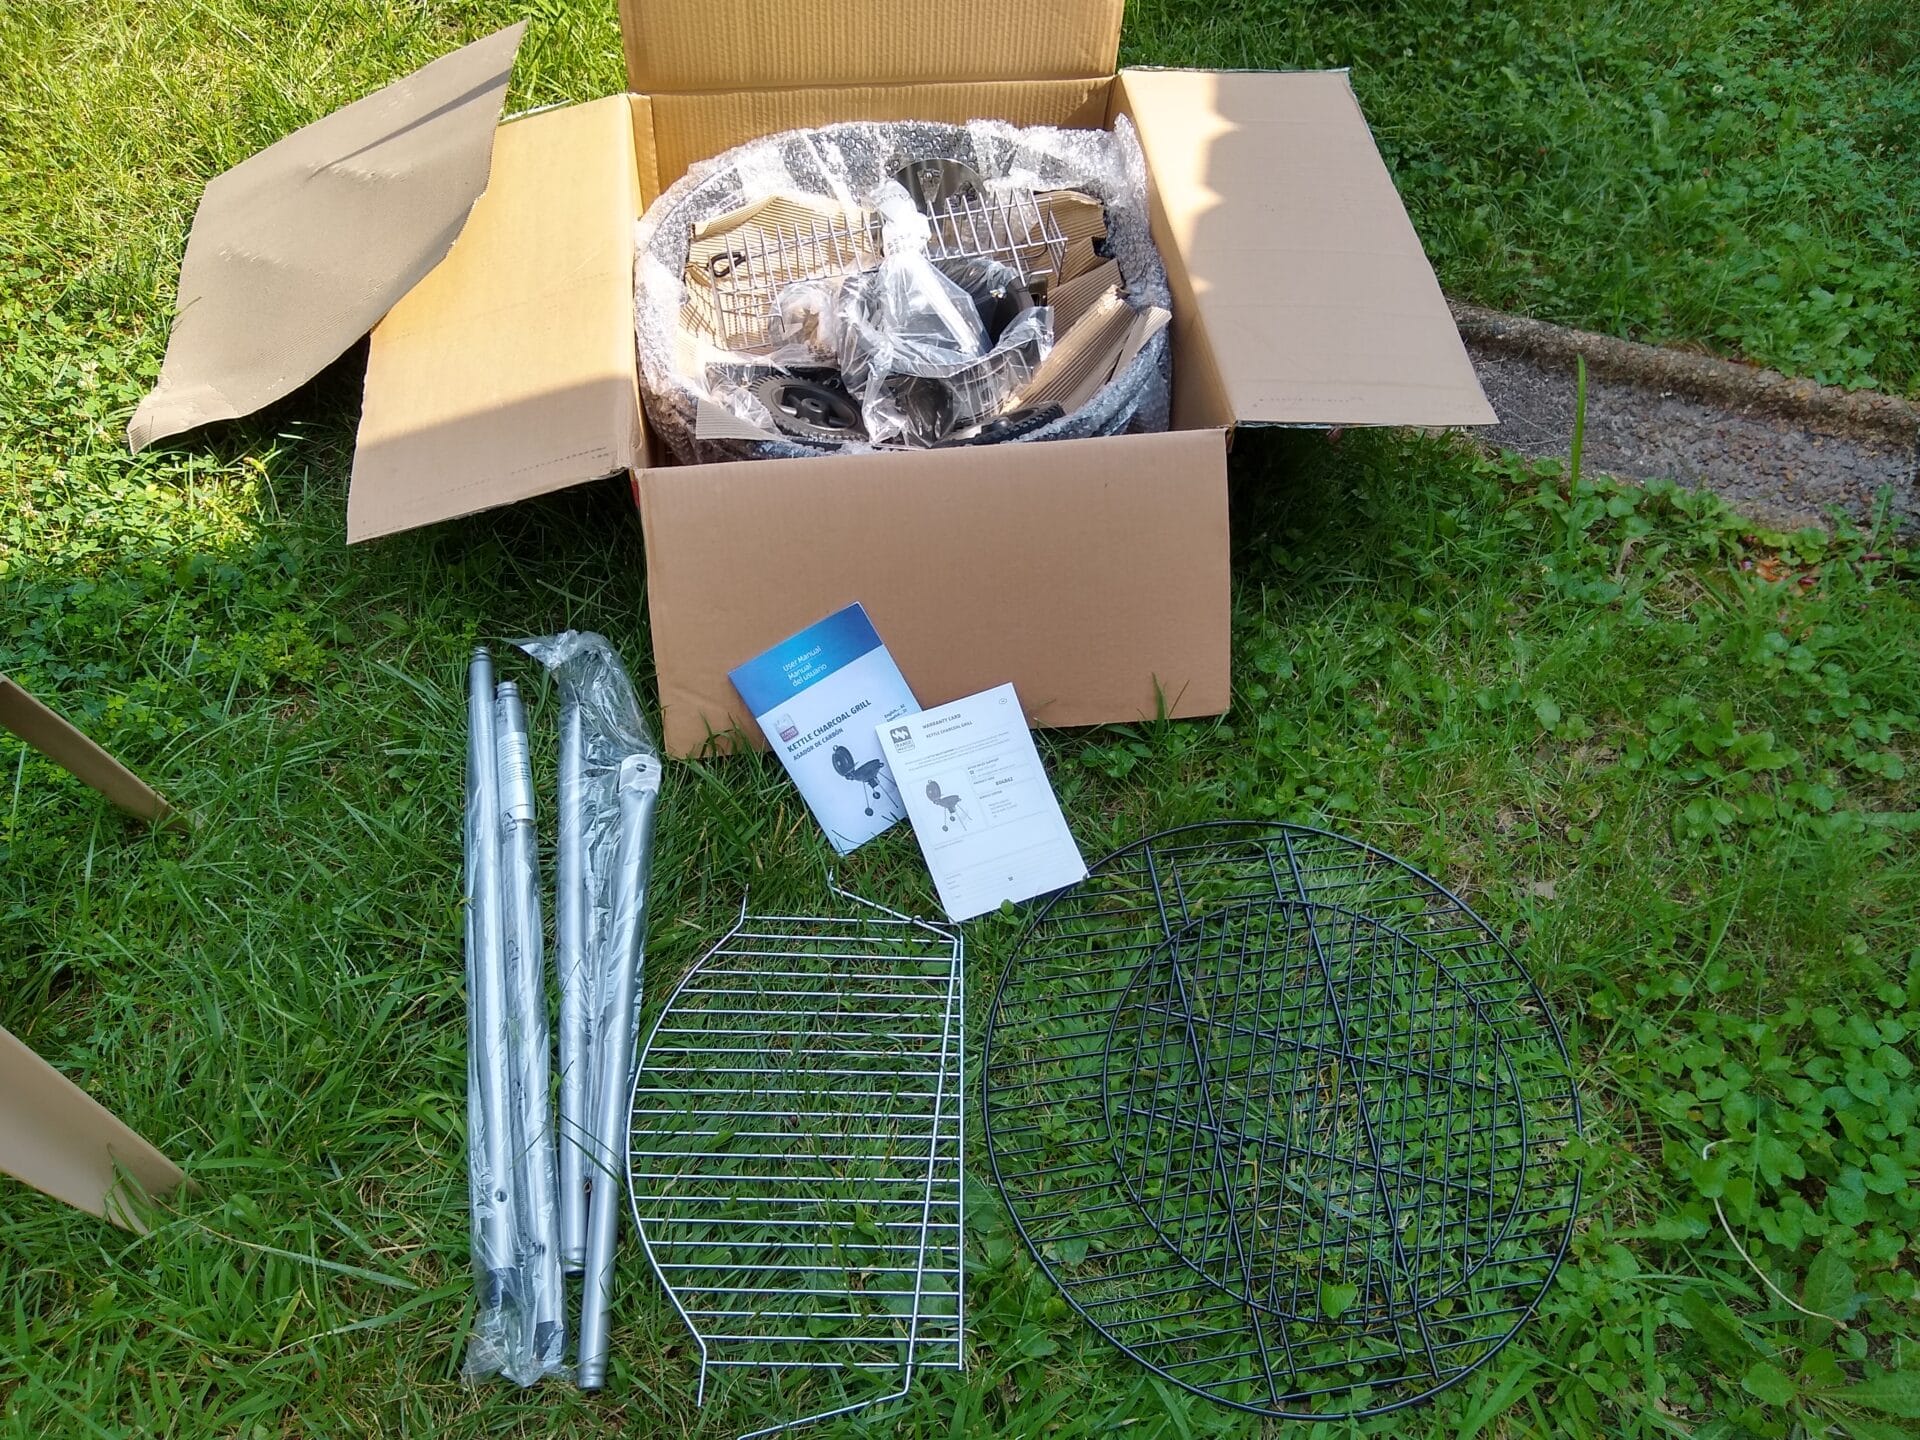
It comes out of the box with the following:
- The grill (unassembled)
- Manual
- Warranty card
The grill comes with a 3-year warranty, serviced by Hegele Logistic (Protel), a common Aldi warranty service provider.
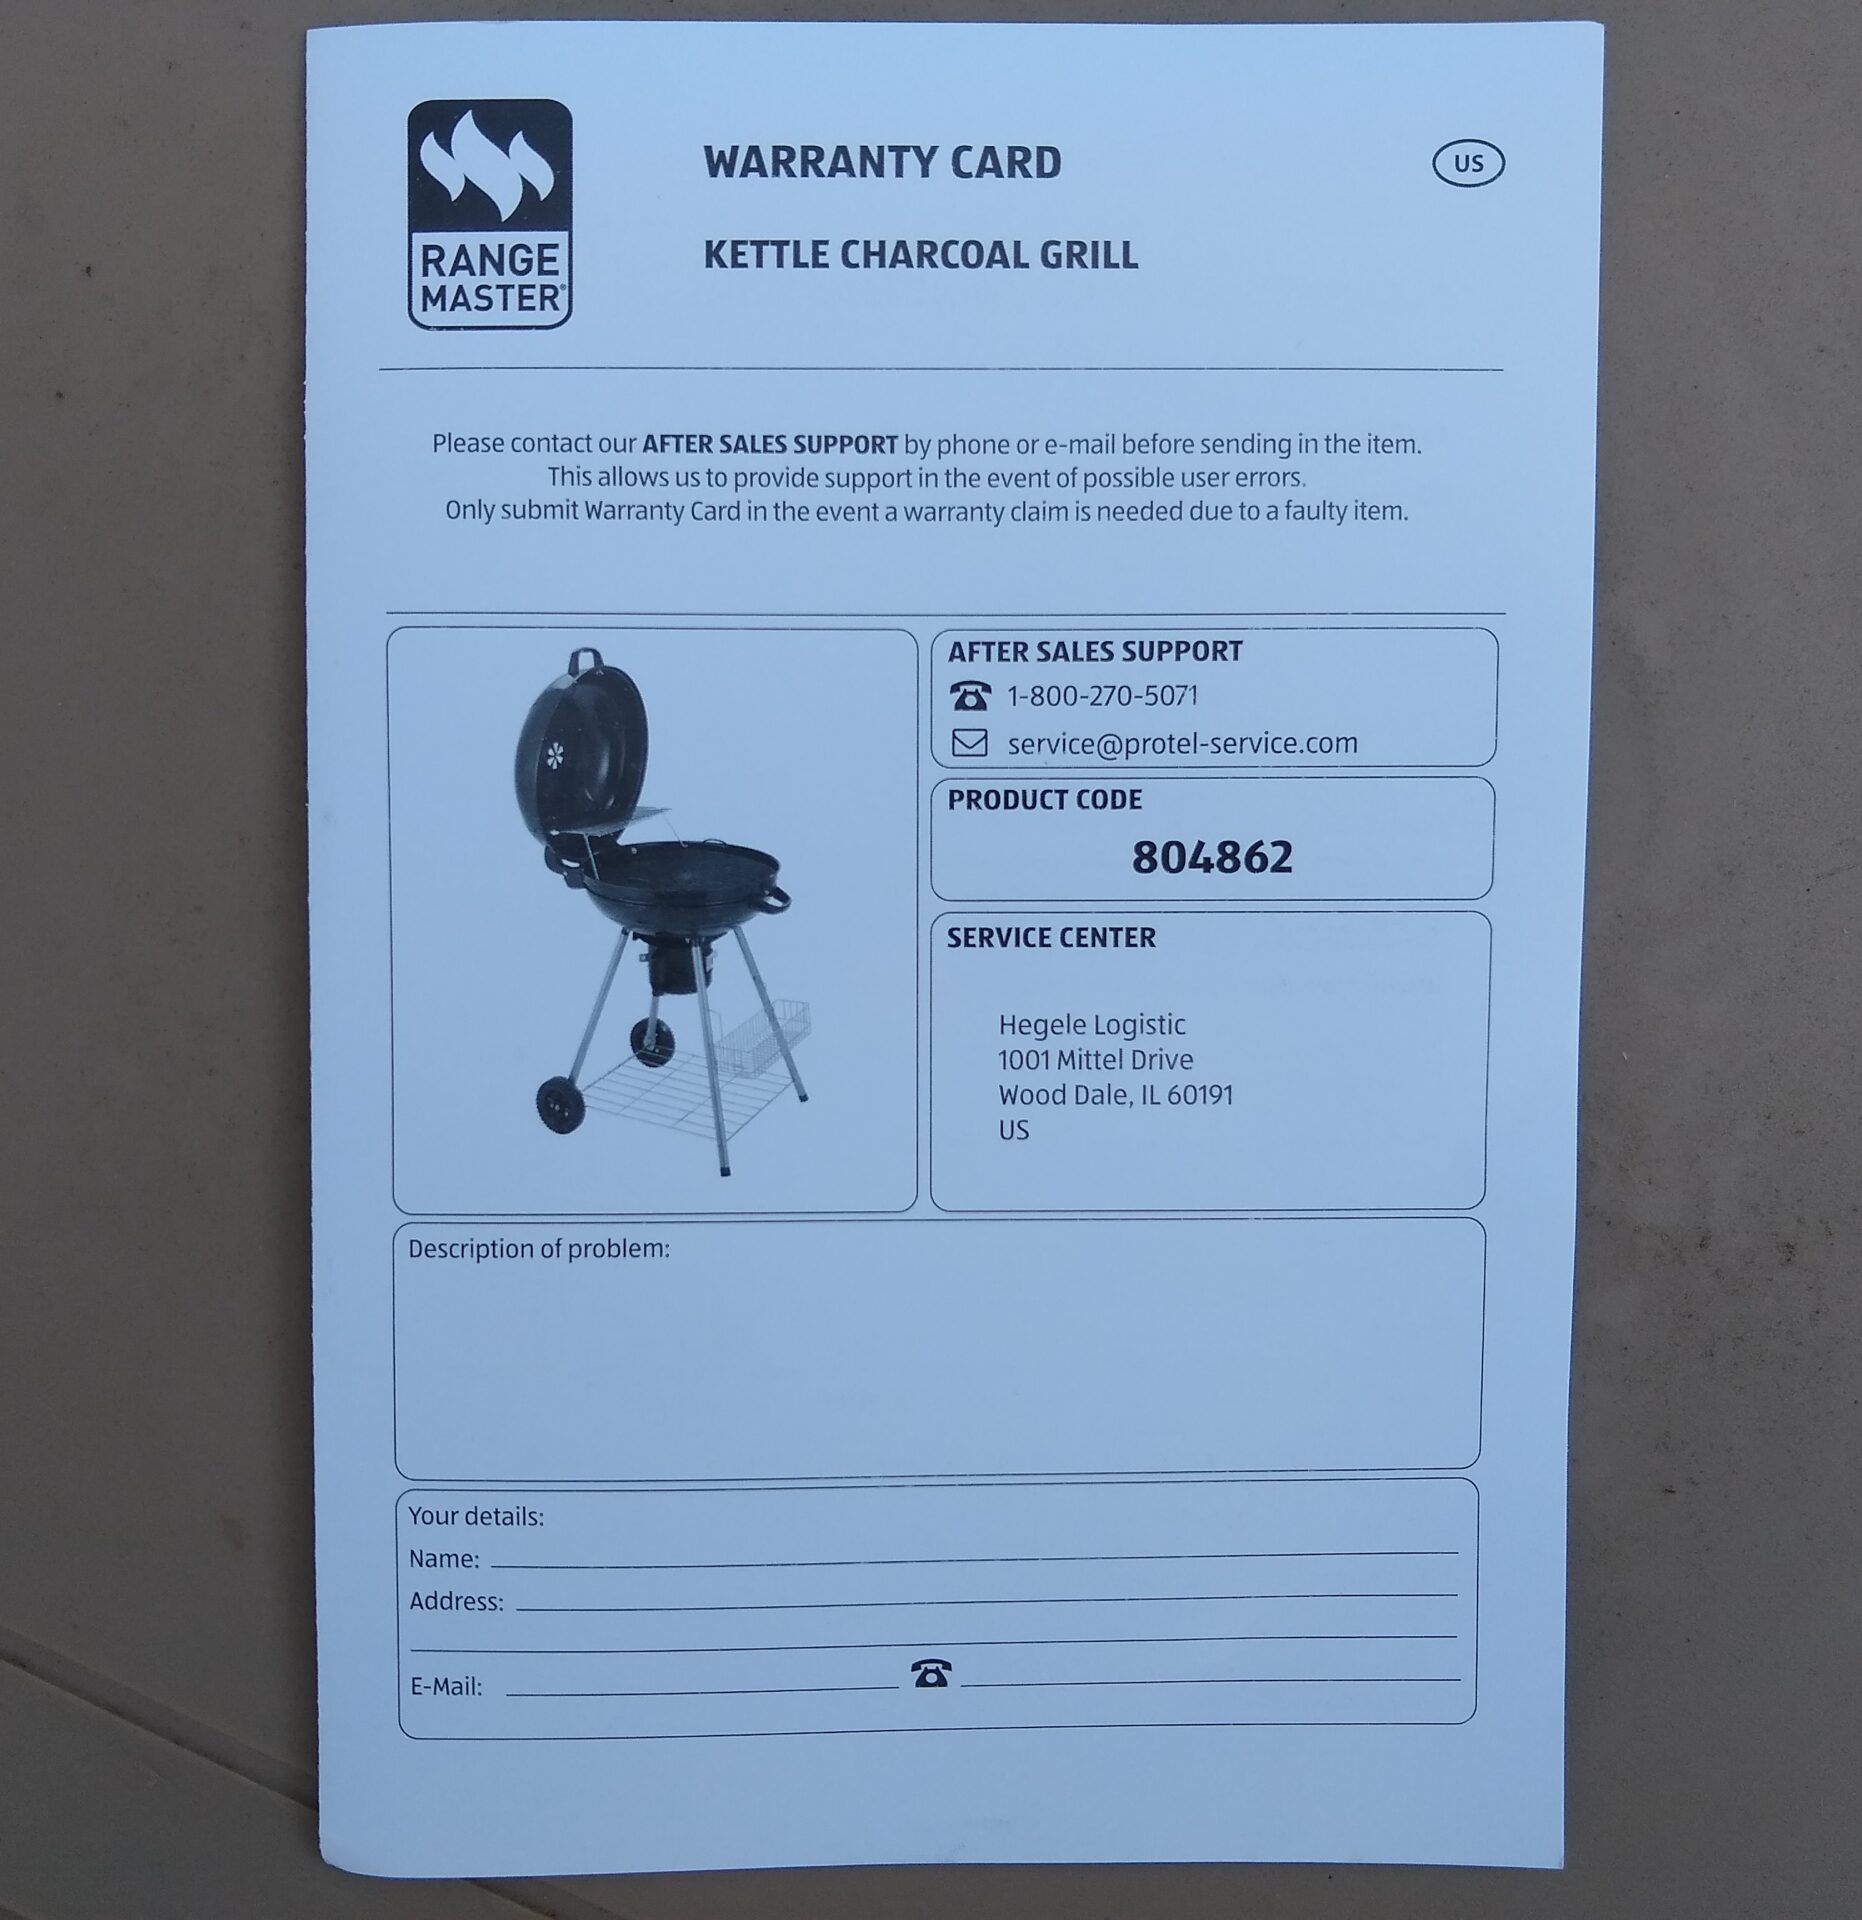
The warranty card. (Click to enlarge.)
According to Aldi, the grill measures 25.2 inches wide, 22.8 inches deep, and 27 inches high.
Aldi lists the following components and features:
- an enamel cooking grate and chrome-plated warming rack
- a hinged lid
- a built-in temperature gauge
- an enamel finish for enhanced durability
- a bottom shelf and tool basket
- an ash catcher with air ventilation
Assembling the Grill:
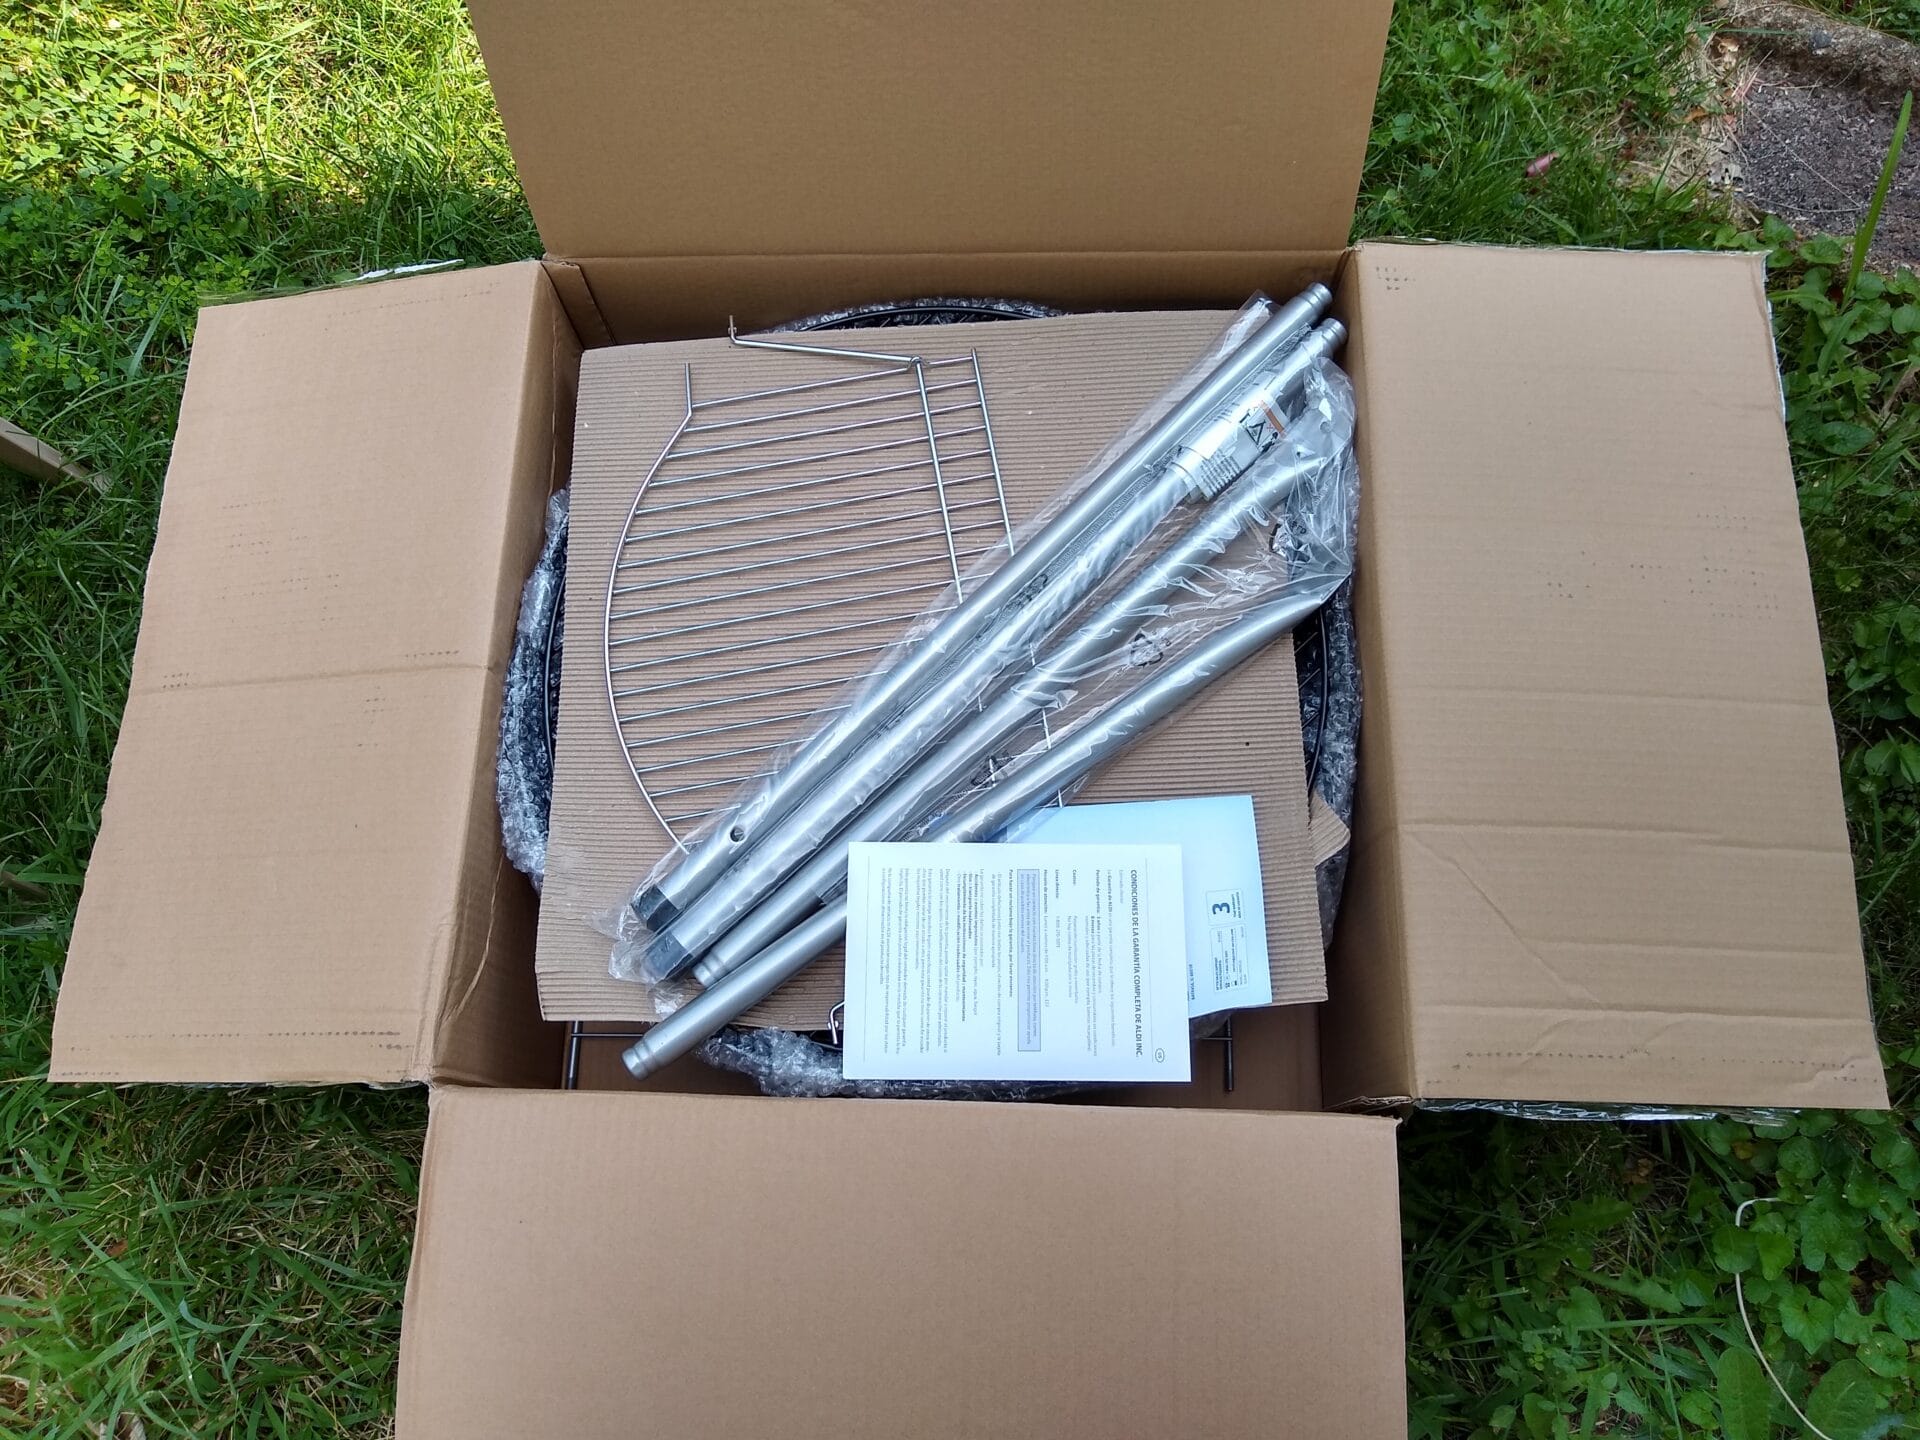
The grill comes in a box in pieces, and it’s up to the buyer to put it together. The instructions do note that you’ll need two tools not included in the box: a screwdriver and a wrench. You can use either a flat head or Phillips head screwdriver — I had better luck with the flat head, but use whatever works best for you.
I’m of average ability when it comes to putting things together, and it took me about three hours to assemble the grill. I was able to put it together by myself, but there are a handful of spots during assembly, such as putting the lid on the bowl, where a second person might be helpful.
One large hurdle early on was sorting out the pieces. All of the screws, nuts, washers, and other small accessories came in a bag without anything separated or marked, so I had to go through and manually sort out the pieces, which took some time on the front end. Because some of the parts came in different sizes, I couldn’t just pluck a screw or nut out of the bag and use it.
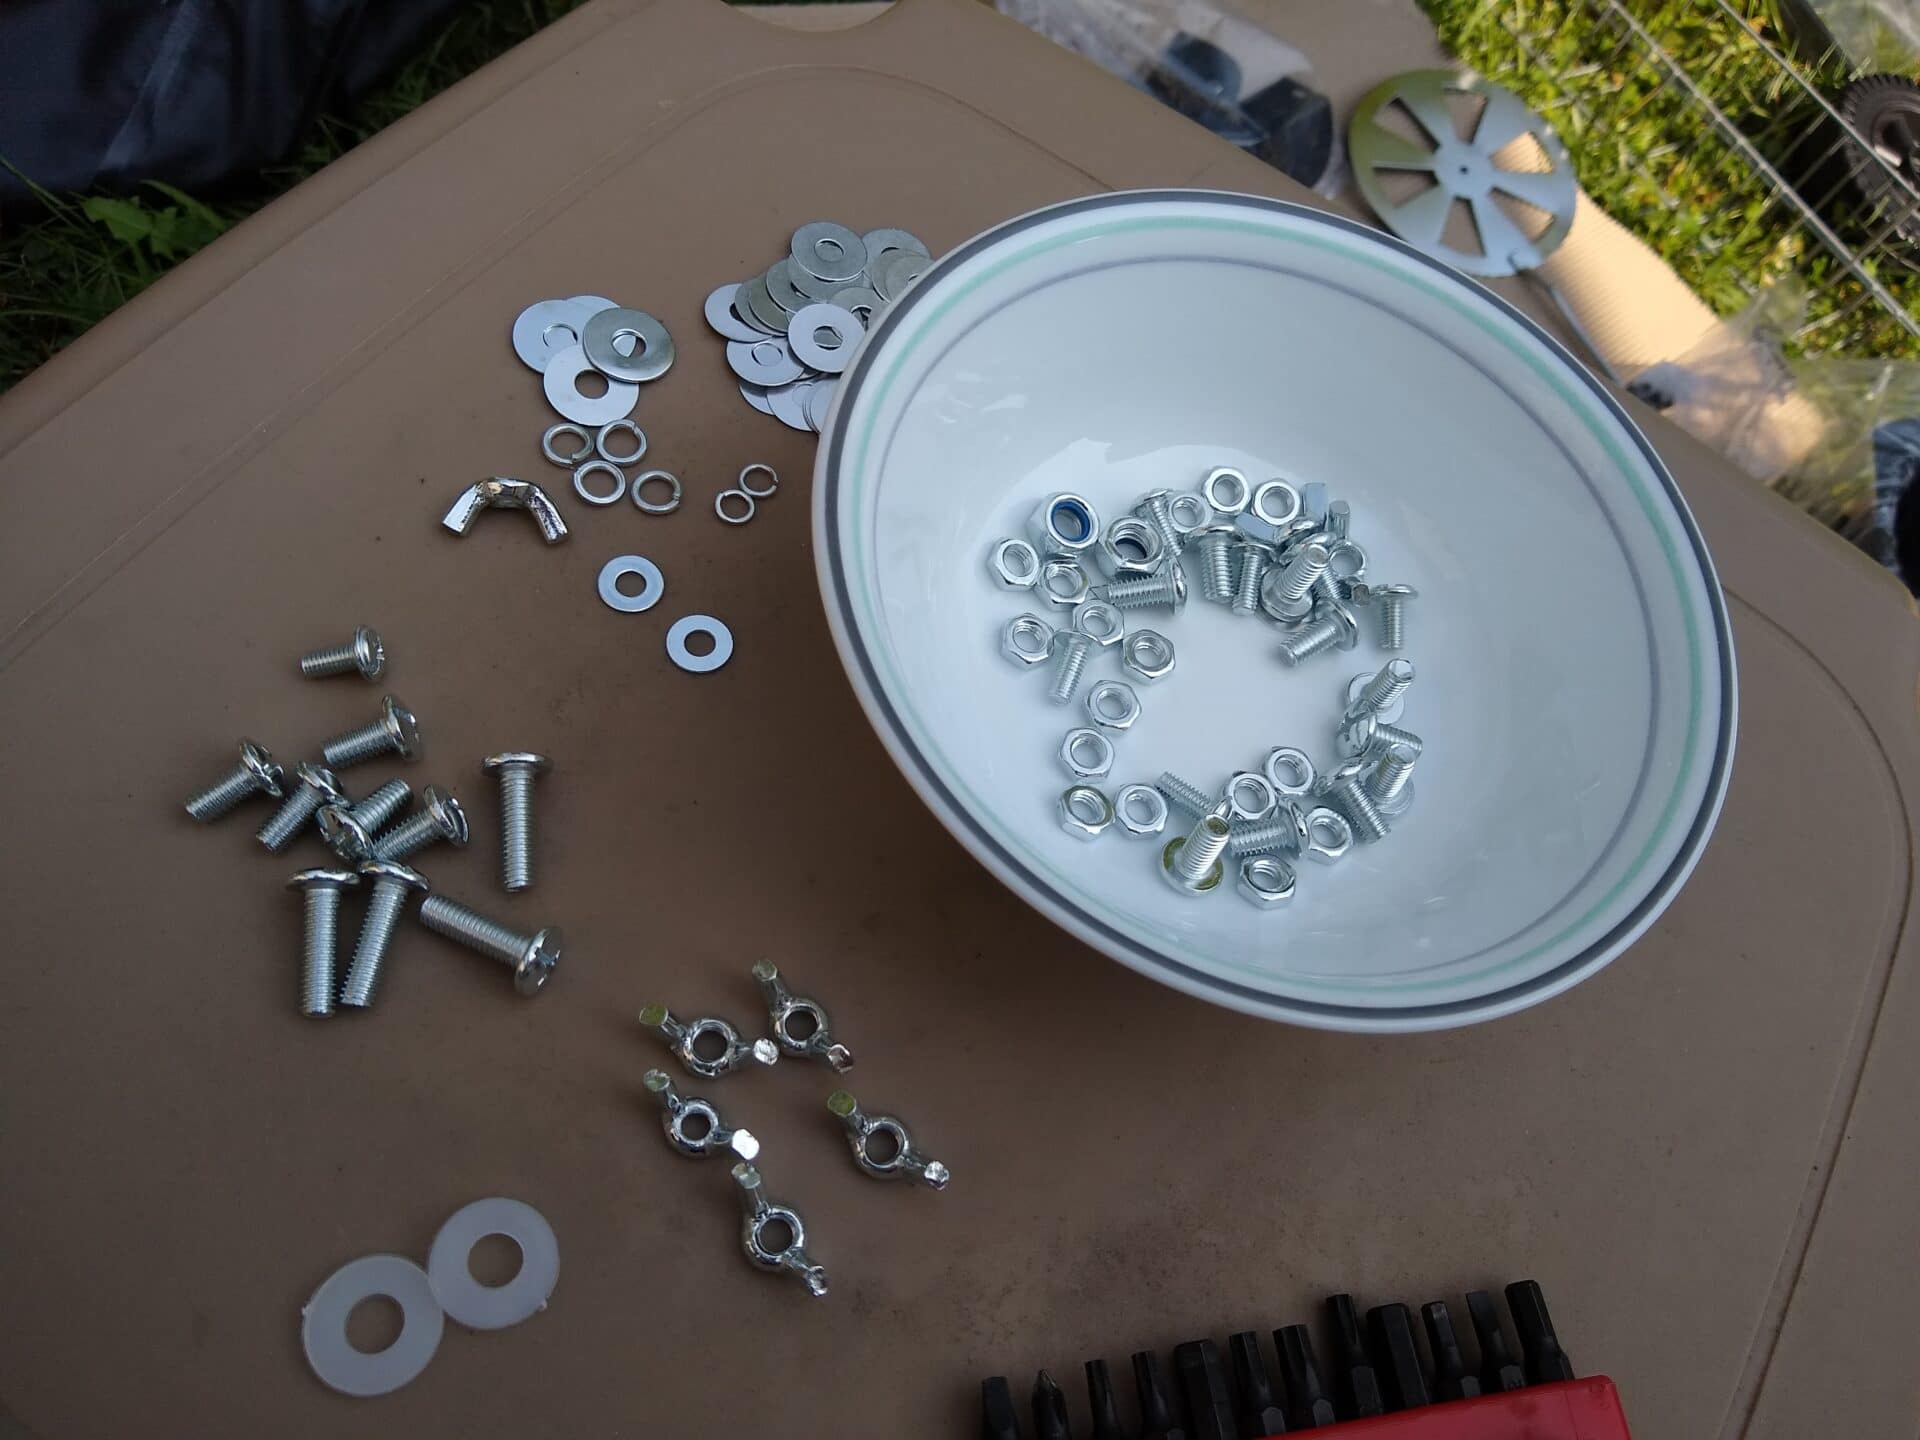
Sorting the little things.
What’s more, it looks like one of the screws in the manual that claimed to have 6 pieces (marked as j in the instructions) was actually 4 screws of one length and 2 of a shorter length. Because 4 of the 6 screws were used to attach one item, I was able to guess what went where, but it added to the challenges of figuring out the small parts.
Even so, I can say that I wasn’t missing anything, and I had everything I needed.
Once I had everything sorted out, it was a matter of following each of the steps. The instruction manual goes step-by-step and is generally easy to follow, with illustrations that mostly do a good job of showing you where things go. Holes are cut where they’re supposed to be, and parts generally went into place without much trouble. I did make a couple of small mistakes along the way, but it wasn’t hard to backtrack and get it right.

Probably the most time-consuming part was assembling the bowl and then getting it attached to the lid and later the legs. None of it was excessively difficult, though, as long as you take your time and consult the instructions regularly to make sure you’re not doing anything wrong.
Using the Grill:
 The instructions tell you to heat the grill for 30 minutes prior to first use. I’m assuming that helps to burn off any chemicals that might be involved in the manufacturing process.
I found the grill to be pretty easy to use. Airflow is controlled through levers on the top and bottom, along with holes on the ash catcher, and when they’re all open the charcoal heats up and stays hot. What’s more, I checked the built-in temperature gauge against an oven thermometer and found the built-in one to be accurate.
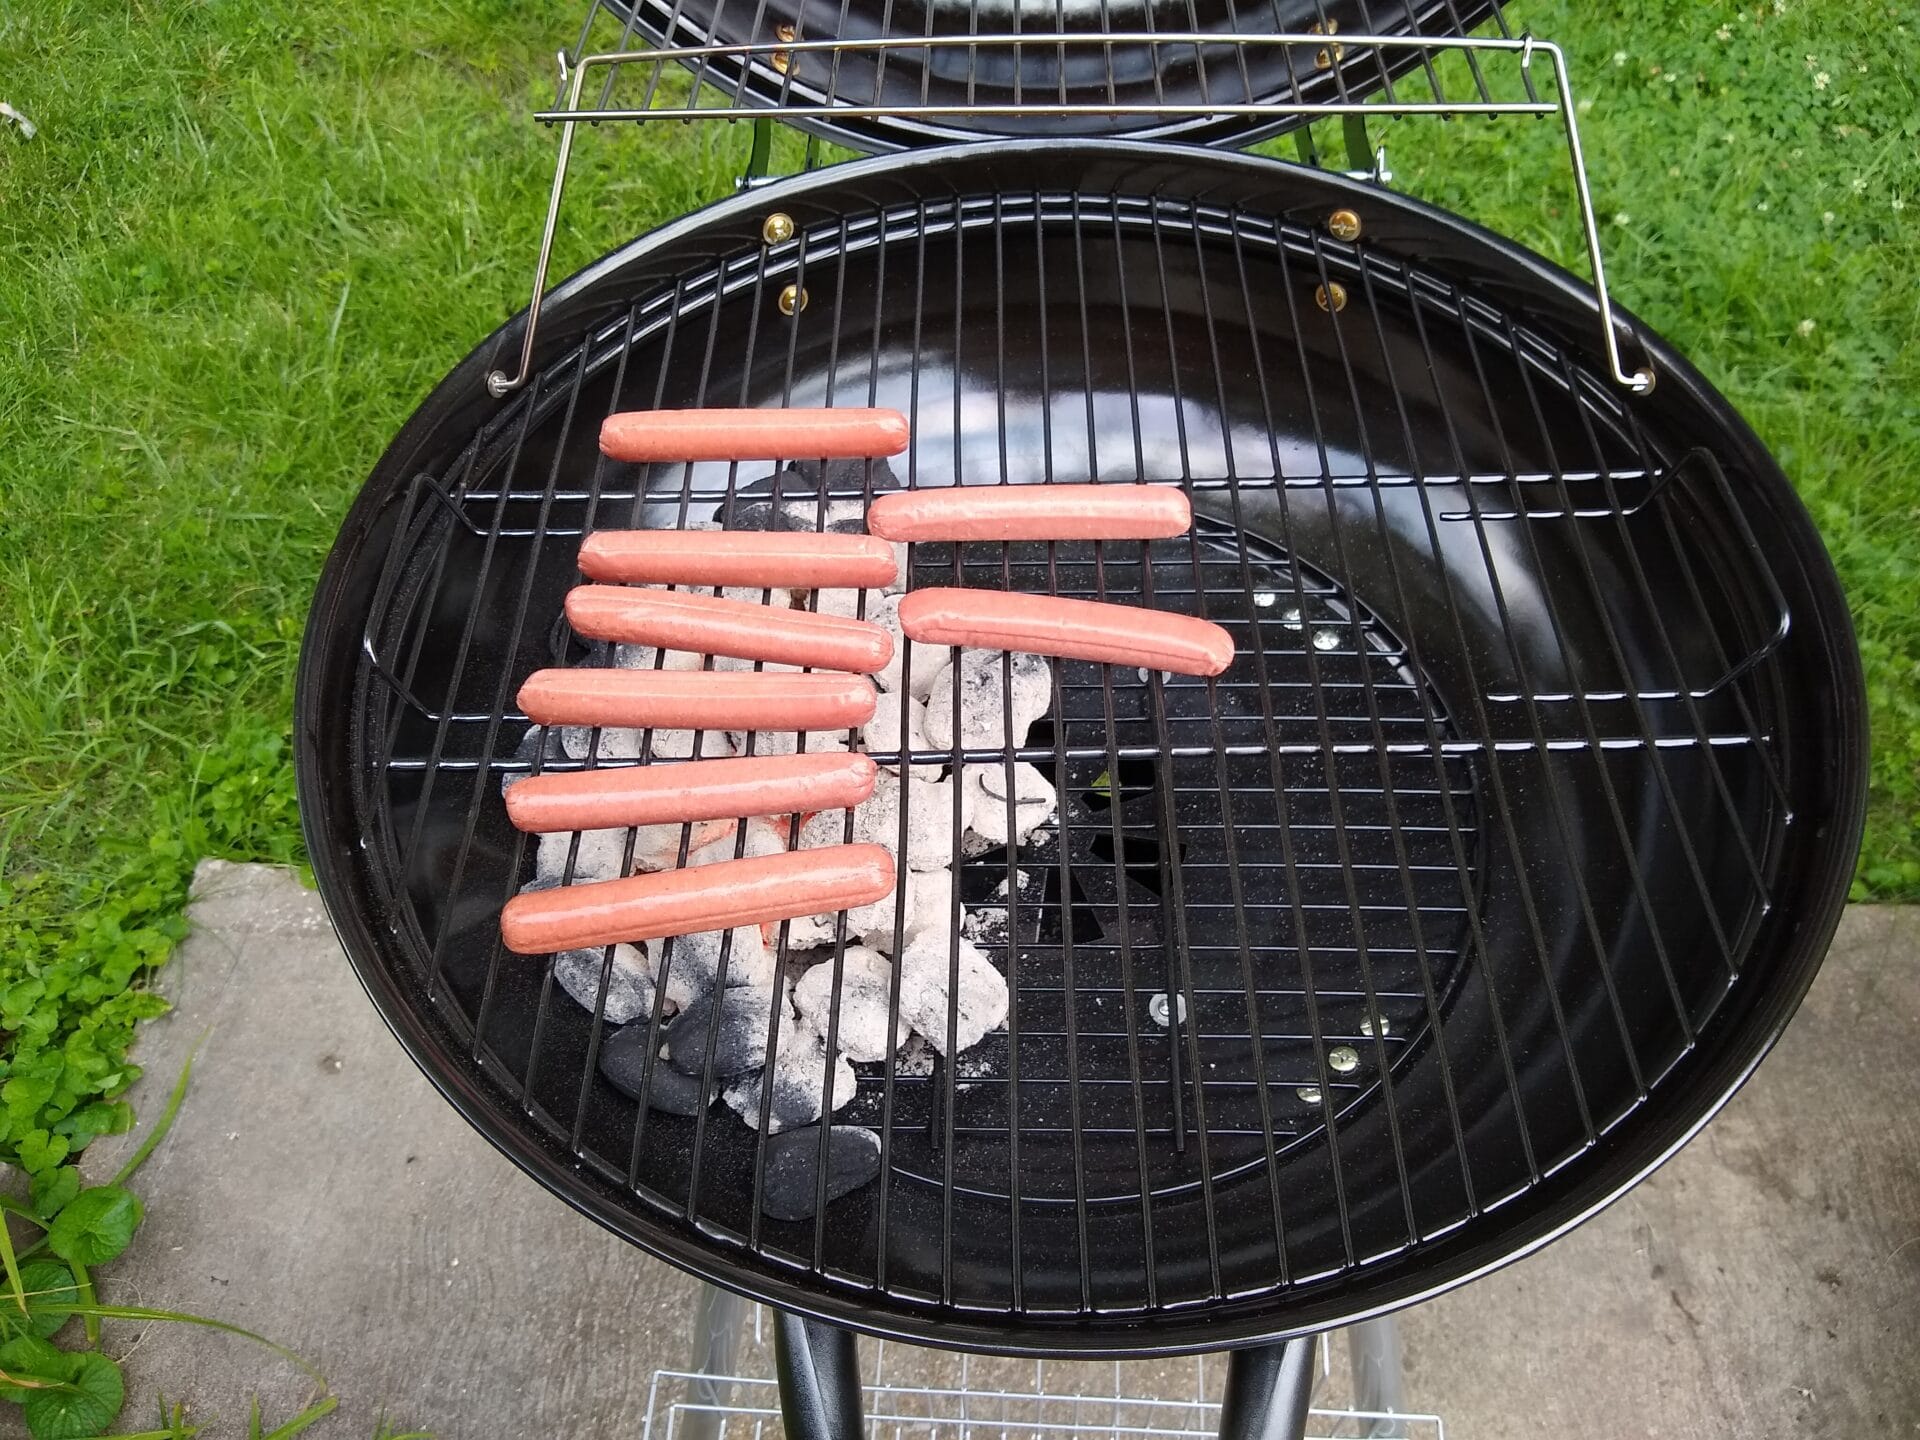
Wahlburger hot dogs on the Range Master grill.
The early returns on the grill are good. It operates like a charcoal grill should. My biggest question right now is how long it will last. Off-brand grills are notorious for rusting out quickly, so time will tell how this enamel-coated model does. I’ve already ordered a grill cover (I’m taking my chances on a Weber model designed for 22″ grills), which I hope will help extend the life span. I’ll be updating this review as time goes on.
The Verdict:
The Range Master Kettle Charcoal Grill is a decent 22″ budget grill if you need a budget grill. It takes a while to assemble, but once lit it does the job. A 3-year warranty is a nice extra.


So, you used it for a season. How did to it last?
I see they’re on sale now in my area, and am considering picking one up. For under $20, how could I go wrong?
Ours will be a year old this summer and it’s in good condition. We use it on a regular basis, and we cover it when not in use.